Magnetic Lock Wiring Instructions
A. l2V DC lnput:
Required Power O.S Amp (Minimum).
Connect the Positive (+) lead from a 12V DC power source to V+.
Connect the Ground (-) lead from a 12V DC power source to V -.
Check Jumper for l2V DC operation.
B. 24V DC lnput:
Require Power 0.25 Amp (minimum).
Connect the Positive (+) lead from a 24V DC power source to V+.
Connect the Ground (-) lead from a 24Y DC power source toV-.
Check Jumper for 24V DC operation.
C. Contacts:
Relay dry contacts are rated 1 Amp at 24V DC for safe operation, do not exceed this rating.
lf you require a normally open switch, connect the wires from the system to COM and NO.
lf you require a normally closed switch, connect the wires from the system to COM and NC.
Important Note:
lf Power Switch is not wired between DC source voltage and magnet, it will take a longer time to de-energize the magnet simulating residual magnetism.
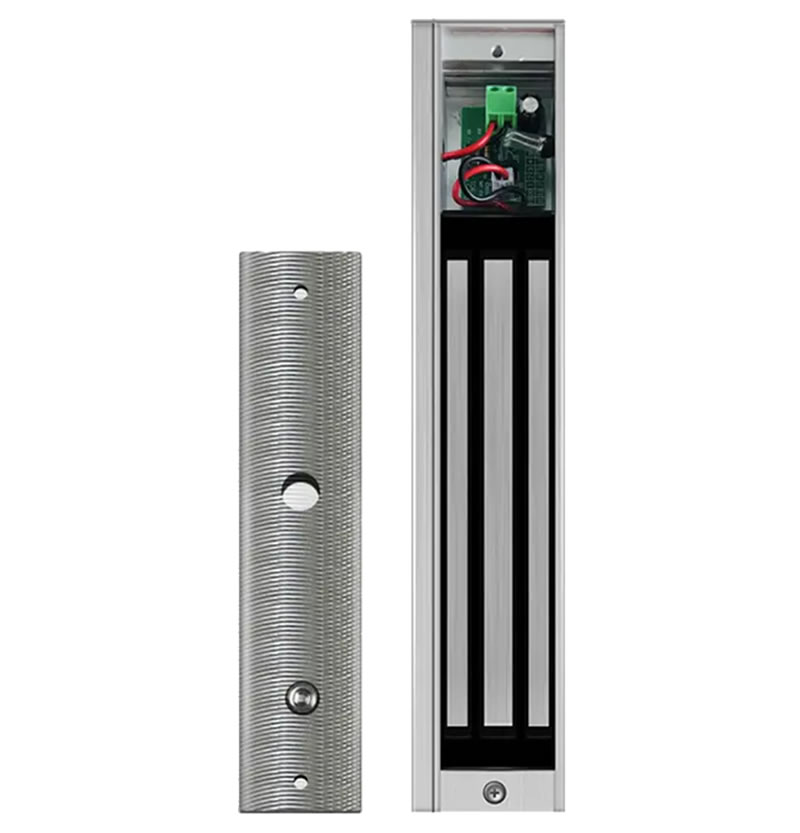
Magnetic Lock Installation Steps
STEP 1 — Prepare Template
- Fold the template along the dotted line.
- Place the template against the door and head frame.
- Drill holes as indicated on the template.
STEP 2 — Install Armature Plate
- Mount the armature plate to the door.
- Place one rubber washer between two steel washers on the through sexnut (the bolt that goes between the armature plate and the door).
- Make sure the rubber washer remains flexible so the plate can move slightly for proper alignment.
STEP 3 — Install Mounting Plate
- Attach the mounting plate to the door frame.
- Adjust it so that the mounting plate and armature plate form a right angle (90°).
- Use the mounting plate as a template to drill the wire hole.
- Drill and install the remaining mounting screws.
STEP 4 — Attach Magnet
- Install the magnet onto the mounting plate using the two M4 (or M6) screws provided.
STEP 5 — Connect Wiring
- Complete the electrical wiring according to the wiring instruction sheet.
STEP 6 — Test Operation
- Test all functions of the lock according to the wiring instructions.
- Ensure the magnet and armature plate align and the lock operates correctly.


Reviews
There are no reviews yet.